Getting started
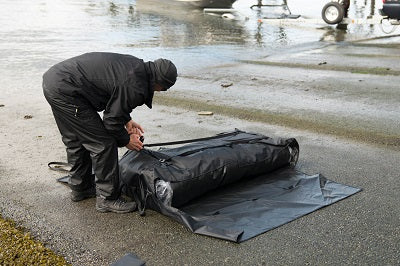
Finding A Location
Try to find as flat of ground as you can. This will make the setup as easy as possible. When the ground is uneven it will be harder to alighn the floor and rails systems.
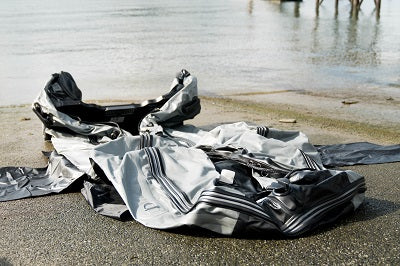
Unpacking
Ounce you found your spot open up your carrying bag, and unroll the Classic Inflatable Boat.
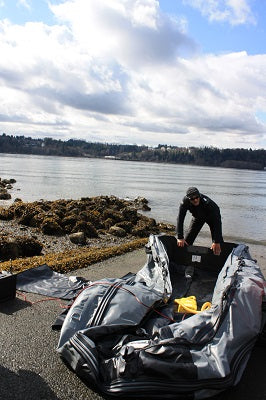
Just A Bit of Air
Partially inflate all chambers around 15% to 20%. There should be just enough air in the chambers so you start to see the rough shape of the boat.
Note About The Valves: Our boats use HR Valves (Halkey Roberts Valves). They have 2 modes: Fully Open and One-Way. When inflating, you will want them in one-way mode so air can only go into the chambers. To convert between the two modes, push the center in and twist.
Pro-Tip:The more inflated the boat, the harder it is to install the floorboards.
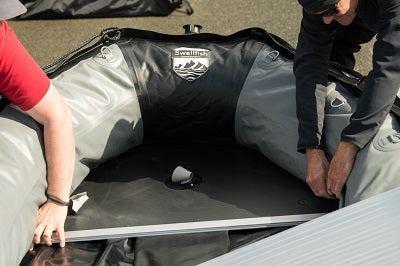
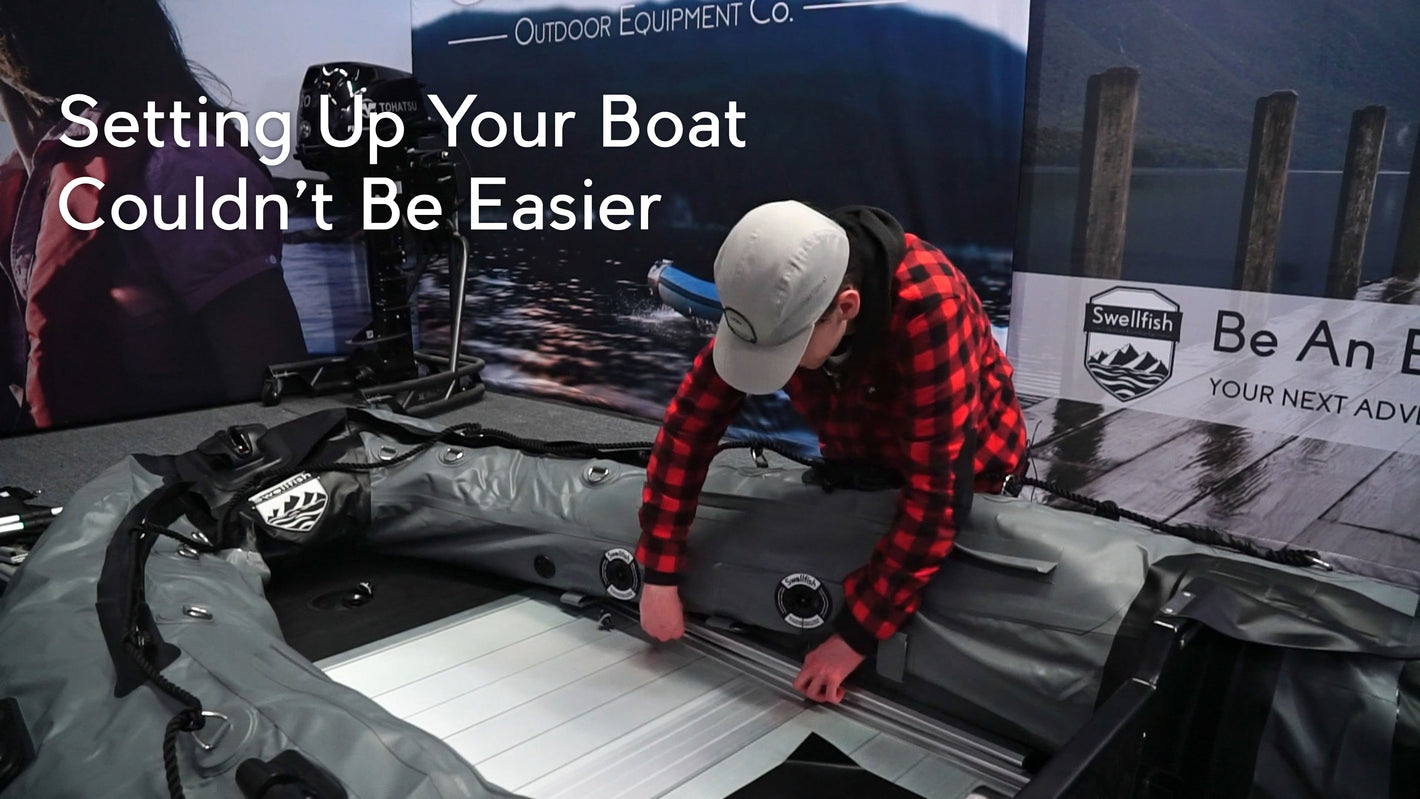
Installing The Floor
Next, we will open the floor bag and install the floor.
Pro-Tip #1:When installing the floorboards, try to ensure that each floor has equal spacing on each side between the board and the boat tubes.
Pro-Tip #2:Also, try to line up the outer edge of each floorboard to each other by making sure the joints line up evenly.
Detailed Steps For The Floor Installation
-
Step 1
Start by installing the floor at the stern - as in the back of the boat.
(On the Classic 350 / 390 it will be marked as #4. On the Classic 430 / 470 it is marked #5)
-
Step 2
Install the bow board and make sure the board tucks under the tubes.
(You will verify the alignment in the next step.)
-
Step 3
The next board that attaches to the bow board is #1. Install it and verify there is an equal distance between the edges of the board and boat tubes.
-
Step 4
Continue installing floorboards until you get to the last board to be installed.
(Verify proper alignments as you go.)
-
Step 5
When installing the last board, attach it to the bow side of the boat. Move to the other side of the board, and lift on up both boards to make a tipi.
-
Step 6
Slowly push the tipi down until all the boards are flat.
(Make sure value covers have been inserted and everything else is out of the way.)
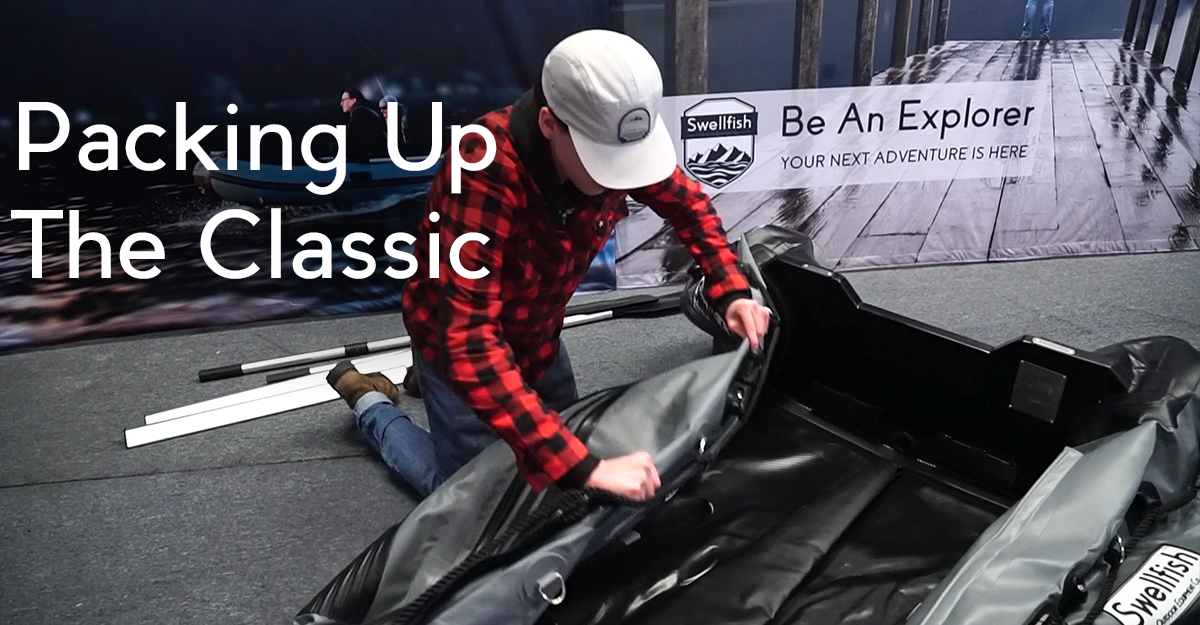
ALL THE EXTRAS
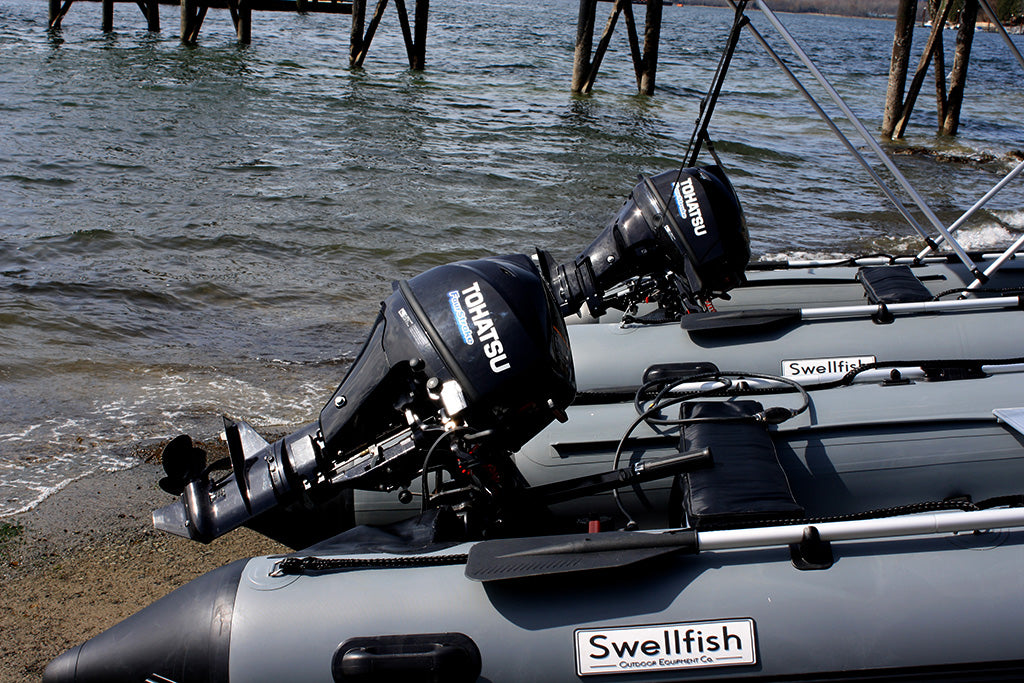
Congratulations! You have completed the setup of your inflatable boat!
All that is left is to install the outboard, add any additional accessories like Bimini's, and anything else you want to bring with you!
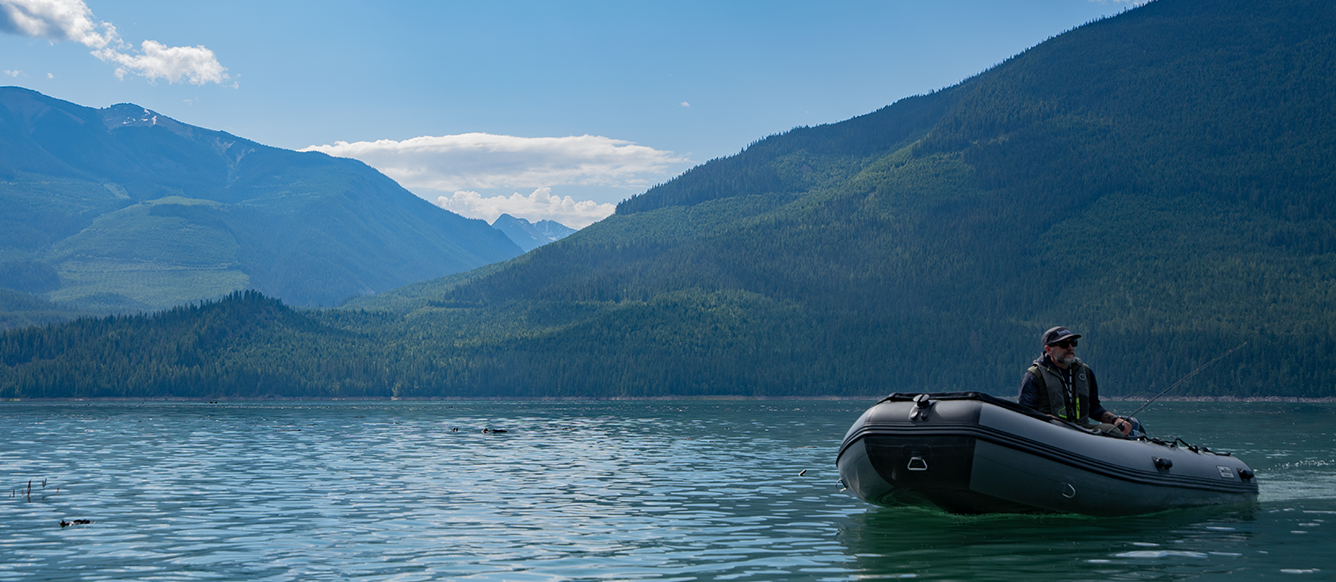
LETS GO!
Time to get out on the water and start your adventure!
Make sure you either tag us directly (@swellfishco) or use #swellfishco! Or you can even email us your photos. We love featuring people having fun and loving life in the outdoors.
If you have any questions, reach out to us! Email us or use the online chat below.